Powering Up Your Gaming PC: The Ultimate Guide to PSU Upgrades
Anúncios
Powering Up Your Gaming PC: The Ultimate Guide to PSU Upgrades
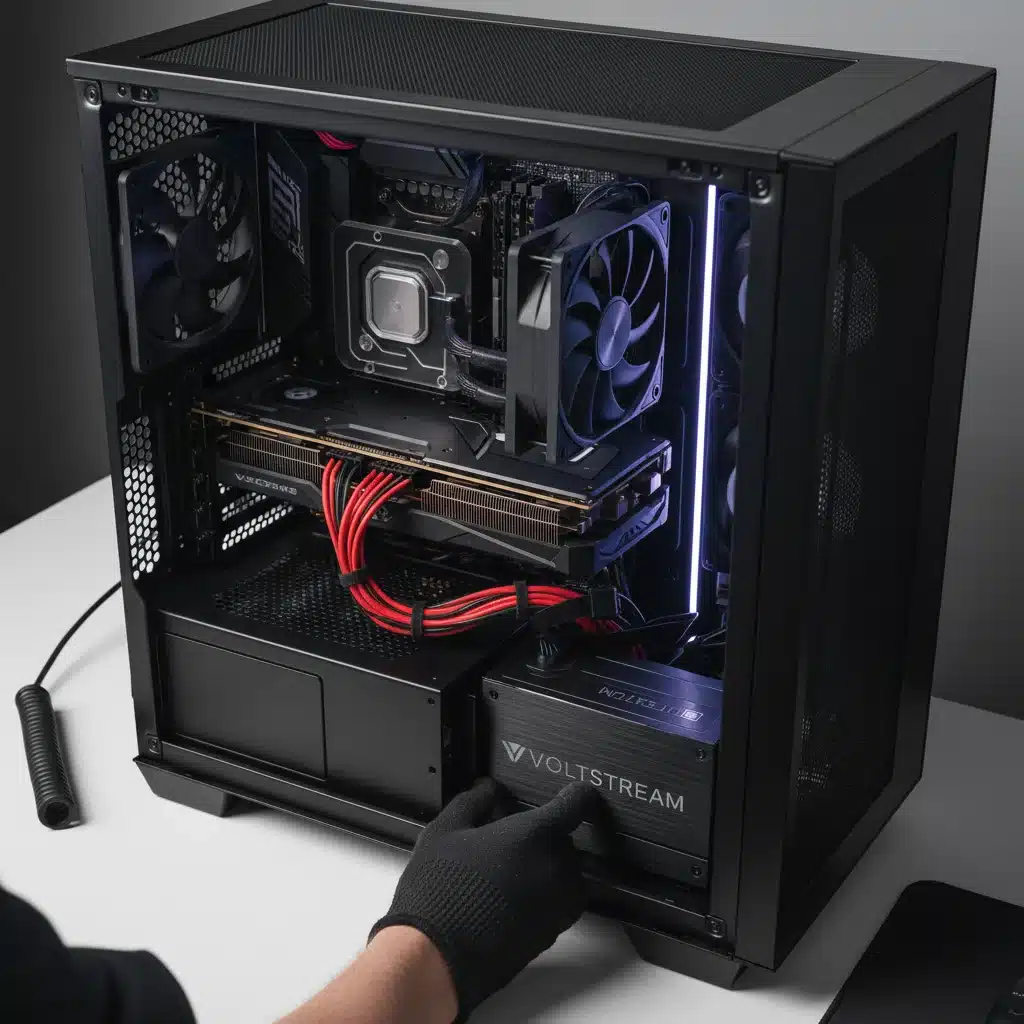
In the exhilarating world of PC gaming, every component plays a crucial role in delivering an immersive and seamless experience. While discussions often revolve around the latest graphics cards, powerful processors, and lightning-fast SSDs, one unsung hero often gets overlooked: the Power Supply Unit (PSU). Far from being a mere box that supplies electricity, the PSU is the heart of your gaming rig, providing stable and consistent power to all your high-performance components. A well-chosen PSU ensures not only optimal performance but also the longevity and stability of your entire system. This comprehensive PSU upgrade guide will delve deep into why upgrading your power supply is essential, how to choose the right one, and the practical steps to install it, ensuring your gaming PC is always running at its peak.
Many gamers, especially those new to PC building or upgrading, tend to underestimate the importance of a quality PSU. They might prioritize a flashy GPU or a faster CPU, only to find their system struggling with instability, crashes, or underperformance when pushed to its limits. This is often a direct consequence of an inadequate or aging power supply. As modern components become more power-hungry and technologically advanced, the demands on your PSU increase exponentially. Failing to meet these demands can lead to a myriad of issues, from minor annoyances to catastrophic hardware failures. Therefore, understanding the nuances of a PSU upgrade is not just about improving performance; it’s about safeguarding your investment and ensuring a reliable gaming experience.
This guide aims to demystify the process of selecting and installing a new power supply. We’ll cover everything from calculating your power needs and understanding efficiency ratings to exploring different form factors and modularity options. Whether you’re planning a complete system overhaul, adding a new high-end graphics card, or simply seeking better efficiency and stability, this PSU upgrade guide will equip you with the knowledge and confidence to make informed decisions. By the end of this article, you’ll not only know which PSU is right for you but also how to seamlessly integrate it into your existing setup, transforming your gaming PC into a true powerhouse.
Anúncios
Why a PSU Upgrade is More Critical Than You Think
The Power Supply Unit (PSU) is often the most overlooked component in a gaming PC build or upgrade. Gamers might spend hundreds or even thousands on a new graphics card or processor, but skimp on the PSU, viewing it as a generic, unexciting box. This oversight can be a costly mistake, leading to a host of problems that can undermine the performance and lifespan of even the most premium components. Understanding the critical role a PSU plays is the first step in appreciating why a strategic PSU upgrade guide is indispensable.
Firstly, the PSU is responsible for converting the alternating current (AC) from your wall outlet into direct current (DC) that your computer components can use. This conversion process is not 100% efficient, and the quality of the PSU determines how much power is lost as heat and how stable the delivered power is. An inefficient or low-quality PSU can lead to significant power wastage, higher electricity bills, and excessive heat generation within your PC case, which can negatively impact the performance and longevity of other components. Furthermore, an unstable power delivery can cause system crashes, data corruption, and even permanent damage to sensitive hardware like your CPU or GPU.
Modern gaming components, particularly high-end graphics cards and multi-core processors, have increasingly complex and dynamic power demands. They often feature ‘power spikes,’ where they momentarily draw significantly more power than their average consumption. A PSU that cannot handle these transient loads can lead to system instability, stuttering, or even unexpected shutdowns during intense gaming sessions. Upgrading to a higher-quality PSU with sufficient wattage and robust electrical protections ensures that your components receive clean, stable power, allowing them to operate at their full potential without bottlenecks or risks.
Another crucial aspect is future-proofing. PC technology evolves rapidly, and what might be sufficient today might be inadequate tomorrow. If you plan to upgrade your graphics card or add more drives in the future, an underpowered PSU will limit your options or necessitate another upgrade down the line. A proactive PSU upgrade guide approach involves choosing a PSU with a bit of headroom, allowing for future expansions without immediate power concerns. This not only saves you time and effort but also provides peace of mind.
Anúncios
Finally, reliability and safety are paramount. Reputable PSU manufacturers invest heavily in quality components and rigorous testing to ensure their units are safe and durable. Cheap, generic PSUs often cut corners, using inferior capacitors and lacking essential safety features like over-voltage protection (OVP), under-voltage protection (UVP), over-power protection (OPP), and short-circuit protection (SCP). These protections are vital in preventing damage to your system in case of power fluctuations or internal faults. A high-quality PSU is an investment in the long-term health and stability of your entire gaming PC, making a thoughtful PSU upgrade guide crucial for any serious gamer.
Calculating Your Power Needs: How Much Wattage Do You Really Need?
One of the most common questions when considering a PSU upgrade guide is, “How much wattage do I actually need?” The answer isn’t always straightforward, as it depends on a multitude of factors, including your specific components, future upgrade plans, and even your personal preferences for efficiency and headroom. Over-specifying your PSU significantly can be wasteful, while under-specifying it can lead to performance issues and instability. The key is to find the sweet spot that provides ample power for your current setup, with a bit of extra capacity for future enhancements.
Component-Specific Power Consumption
The primary drivers of power consumption in a gaming PC are the CPU and the GPU. Modern high-end graphics cards, especially those from NVIDIA’s RTX 40-series or AMD’s RX 7000-series, can be incredibly power-hungry, often requiring 300W-450W or more under load. CPUs, while generally consuming less than GPUs, can still draw significant power, particularly high-core-count processors from Intel (e.g., i7/i9) and AMD (e.g., Ryzen 7/9). Motherboards, RAM, SSDs, HDDs, and case fans consume relatively less power, usually totaling around 50-100W for a typical gaming setup.
To accurately estimate your power needs, you can use online PSU calculators provided by various manufacturers (e.g., OuterVision, PCPartPicker, or specific PSU brand websites). These tools allow you to input your exact components, and they will provide an estimated total wattage. It’s crucial to use these calculators as a starting point, as they often provide a baseline. You should then add a buffer for stability and future expansion.
The Importance of Headroom and Efficiency
When calculating wattage, it’s generally recommended to choose a PSU that offers about 20-30% more wattage than your estimated peak system draw. This ‘headroom’ serves several purposes: it accounts for power spikes from components, ensures the PSU operates efficiently (PSUs are typically most efficient at 50-80% load), and provides capacity for minor future upgrades without needing another PSU replacement. For example, if your estimated peak draw is 500W, a 650W or 750W PSU would be a sensible choice.
Efficiency ratings, indicated by the 80 Plus certification (Bronze, Silver, Gold, Platinum, Titanium), also play a significant role. These ratings measure how much power is converted into usable DC power versus how much is lost as heat. An 80 Plus Gold certified PSU, for instance, is at least 87% efficient at 20% load, 90% at 50% load, and 87% at 100% load. Higher efficiency means less wasted power, lower electricity bills, and less heat generated, contributing to a cooler and quieter system. While higher efficiency PSUs tend to be more expensive, the long-term savings on electricity and the benefits of a cooler system often justify the initial investment, making it a key consideration in any good PSU upgrade guide.
Considering Future Upgrades and New Standards
If you anticipate upgrading your graphics card to a more powerful model in the next few years, factor that into your wattage calculation. Research the power requirements of potential future GPUs to ensure your new PSU can accommodate them. Additionally, keep an eye on emerging standards like ATX 3.0. ATX 3.0 PSUs are designed to handle the massive power excursions of modern GPUs more effectively, offering dedicated 12VHPWR (PCIe 5.0) connectors and improved transient response. While not strictly necessary for all builds today, an ATX 3.0 compliant PSU can provide excellent future-proofing, especially if you’re investing in a high-end system.
In summary, calculating your power needs involves more than just summing up component wattages. It requires considering efficiency, providing adequate headroom for stability and future upgrades, and staying informed about new industry standards. By taking these factors into account, you can confidently select a PSU that will reliably power your gaming PC for years to come, a cornerstone principle of this PSU upgrade guide.
Understanding PSU Form Factors, Modularity, and Connectors
Beyond wattage and efficiency, several other factors influence your PSU choice, including its physical size (form factor), cable management options (modularity), and the types of connectors it provides. These aspects are crucial for compatibility, ease of installation, and maintaining a clean, airflow-optimized PC build. A thorough PSU upgrade guide must address these details to ensure a seamless integration into your system.
Form Factors: Size Matters
The most common PSU form factor for gaming PCs is ATX (Advanced Technology eXtended). Standard ATX PSUs are designed to fit into the vast majority of mid-tower and full-tower PC cases. However, there are variations:
- SFX/SFX-L: These are smaller form factors designed for Small Form Factor (SFF) builds, popular among enthusiasts who want compact, portable gaming PCs. SFX PSUs are significantly smaller than ATX units, while SFX-L PSUs are a slightly longer version of SFX, often allowing for larger, quieter fans. If you have an SFF case, you absolutely need an SFX or SFX-L PSU; an ATX PSU simply won’t fit.
- TFX: Even smaller than SFX, TFX PSUs are typically found in very slim or specialized pre-built systems and are rarely used in custom gaming builds.
Always check your PC case’s specifications to determine the compatible PSU form factor. Most gaming cases support ATX, but if you’re building a compact system, this is a critical consideration for your PSU upgrade guide.
Modularity: Managing Your Cables
PSUs come in three main modularity types, each offering different benefits for cable management:
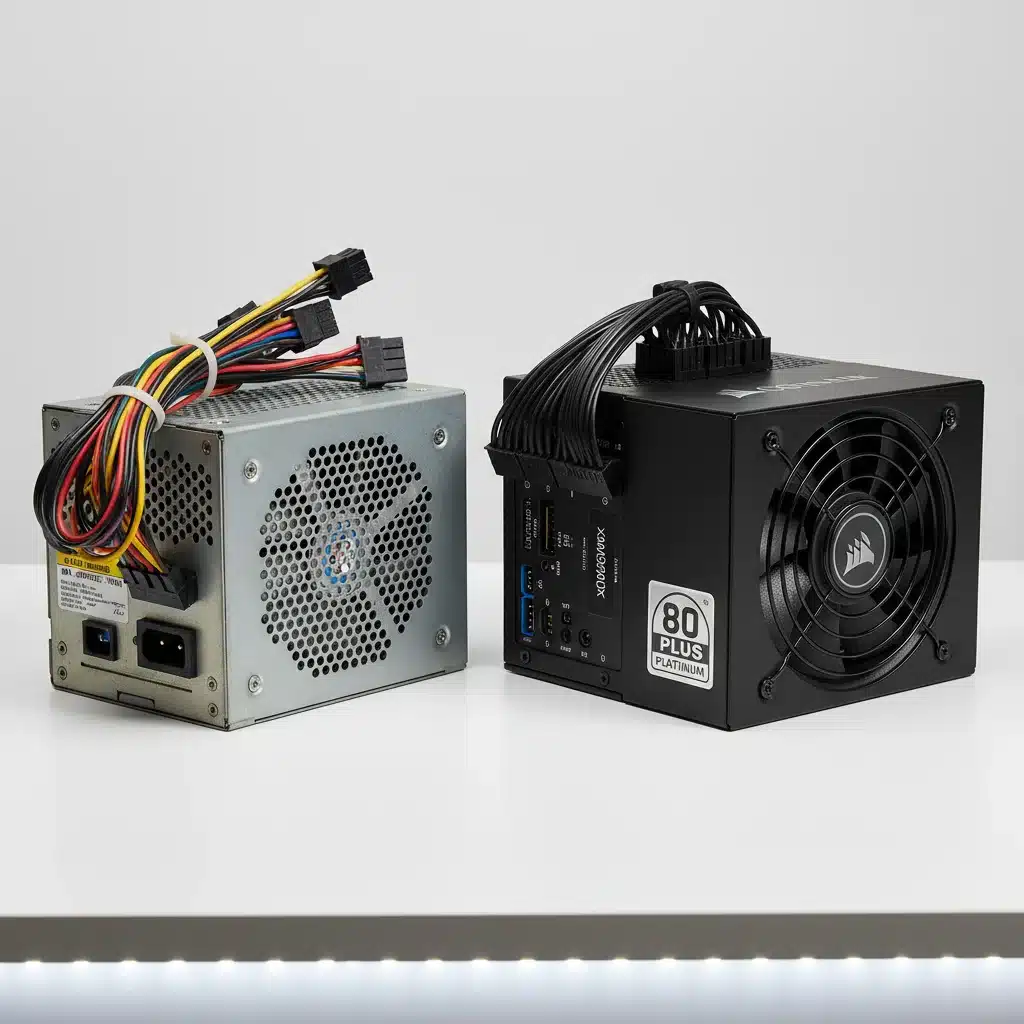
- Non-Modular: All cables are permanently attached to the PSU. While these are typically the most affordable, they can lead to significant cable clutter inside your case, especially if you don’t use all the connectors. This can impede airflow and make your build look messy.
- Semi-Modular: Essential cables (like the 24-pin motherboard connector and 8-pin CPU power) are permanently attached, while other cables (PCIe, SATA, Molex) are detachable. This offers a good balance between cost and cable management flexibility, allowing you to only connect the cables you need.
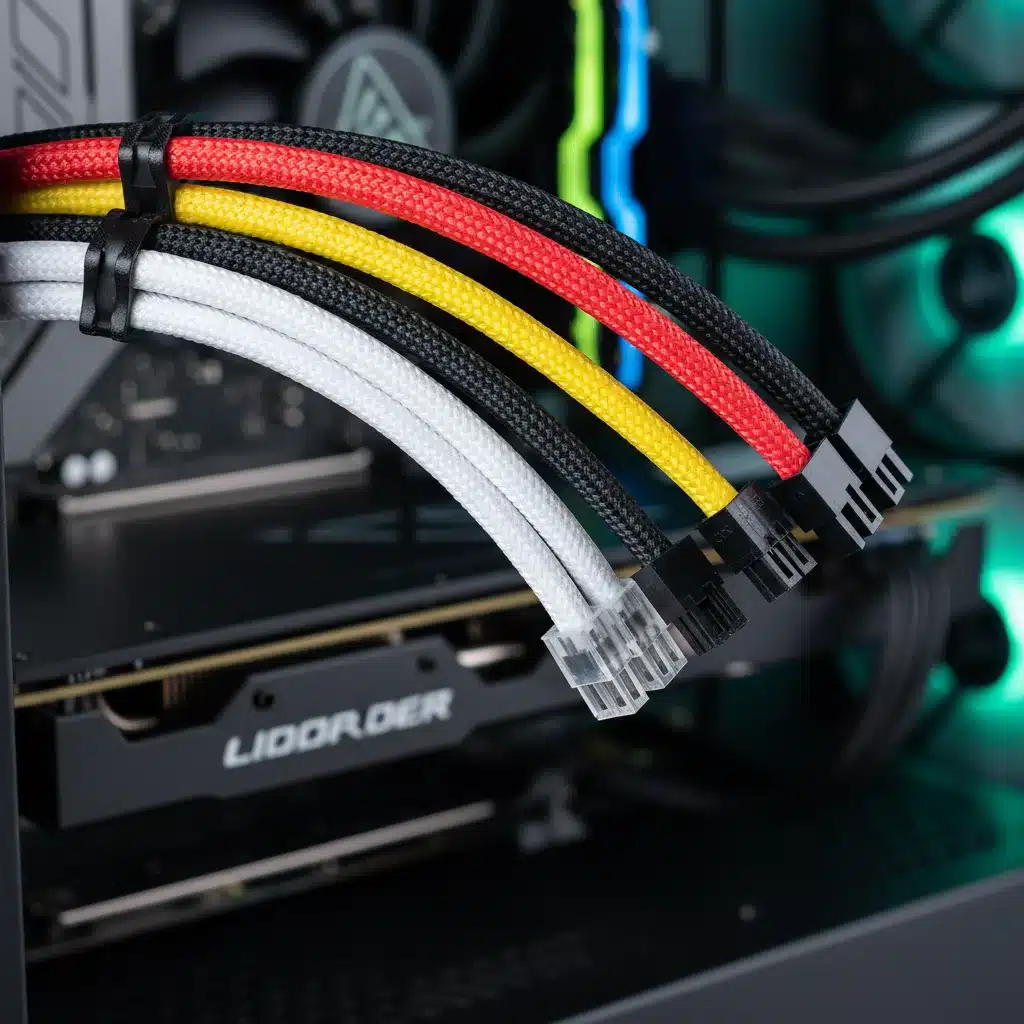
- Fully Modular: All cables are detachable from the PSU. This provides the ultimate flexibility for cable management, allowing you to customize your cable setup, use custom braided cables, and significantly reduce clutter. Fully modular PSUs are generally the most expensive but offer the best aesthetics and airflow benefits, a highly recommended option in any serious PSU upgrade guide.
For a gaming PC, especially one with a windowed side panel, a semi-modular or fully modular PSU is highly recommended. Good cable management improves airflow, making your system run cooler, and also makes future upgrades and maintenance much easier.
Connectors: Ensuring Compatibility
Before purchasing a new PSU, ensure it has all the necessary connectors for your components. Here are the most common types:
- 24-pin ATX Motherboard Connector: Powers the motherboard. All modern PSUs have this.
- 4+4-pin (or 8-pin) EPS CPU Connector: Powers the CPU. Most motherboards require one 8-pin connector, while high-end motherboards for overclocking or HEDT (High-End Desktop) platforms might require two 8-pin connectors (16 pins total).
- 6+2-pin PCIe Power Connectors: Powers graphics cards. Modern GPUs often require two or even three of these connectors. High-end cards might need dedicated 8-pin connectors. Ensure your PSU has enough of these to match your GPU’s requirements.
- SATA Power Connectors: Powers SATA devices like SSDs, HDDs, and optical drives. Most PSUs come with an ample supply.
- Molex Connectors: Older peripheral power connectors, still used for some case fans, fan controllers, or older accessories. Less common now but still useful to have a few.
- 12VHPWR (PCIe 5.0) Connector: This is a newer 12+4 pin connector specifically designed for NVIDIA’s RTX 40-series GPUs and future high-power graphics cards. If you’re buying a new high-end GPU, ensure your PSU either natively supports this connector (ATX 3.0 PSUs) or comes with a reliable adapter. This is a critical consideration for a future-proof PSU upgrade guide.
Always double-check the number and type of connectors required by your motherboard and graphics card, especially if you’re upgrading to a new-generation GPU. Mismatched or insufficient connectors can halt your build or force you to use potentially unreliable adapters.
By carefully considering form factor, modularity, and connector availability, you can select a PSU that not only powers your system effectively but also contributes to a clean, organized, and aesthetically pleasing PC build. These are essential considerations for any comprehensive PSU upgrade guide.
Choosing the Right Brand and Model: Quality, Reliability, and Warranty
Once you’ve determined the appropriate wattage, efficiency rating, form factor, and modularity for your PSU upgrade guide, the next crucial step is selecting a reputable brand and model. The PSU market is vast, with numerous manufacturers offering a wide range of products. However, not all PSUs are created equal. Investing in a high-quality, reliable PSU from a trusted brand is paramount for the stability, longevity, and safety of your entire gaming PC.
Reputable PSU Brands
Several manufacturers have consistently delivered excellent PSUs that are highly regarded by PC enthusiasts and professionals. Brands like Seasonic, Corsair, be quiet!, EVGA, Cooler Master, and Super Flower are often cited for their reliability, build quality, and strong warranties. While specific models within these brands can vary in quality, their high-end and mid-range offerings are generally excellent choices. It’s important to remember that many brands, especially those without extensive in-house manufacturing capabilities, often rebadge PSUs from OEM manufacturers like Seasonic, CWT (Channel Well Technology), or FSP. Researching the OEM of a specific PSU model can provide further insight into its underlying quality.
Key Indicators of Quality and Reliability
- Internal Components: High-quality PSUs use durable capacitors (especially Japanese capacitors, which are highly regarded for their longevity and stability), robust transformers, and efficient voltage regulation modules. While you typically can’t inspect these before purchase, reputable reviews often delve into the internal build quality.
- Protection Circuits: A good PSU incorporates a full suite of protection circuits to safeguard your components. Look for features like Over-Voltage Protection (OVP), Under-Voltage Protection (UVP), Over-Power Protection (OPP), Over-Current Protection (OCP), Over-Temperature Protection (OTP), and Short-Circuit Protection (SCP). These protections can prevent catastrophic damage in case of electrical faults.
- Ripple and Noise Suppression: Clean power delivery is essential for stable component operation. High-quality PSUs excel at suppressing ripple and noise, which are small fluctuations in voltage that can stress components over time. Reputable reviews often test for these metrics.
- Fan Quality and Noise Levels: The fan in your PSU is critical for cooling. High-quality PSUs often feature fluid dynamic bearing (FDB) or rifle bearing fans that are quieter and last longer. Many modern PSUs also include fanless modes at low loads, contributing to a silent PC experience.
Warranty and Customer Support
A strong warranty is a testament to a manufacturer’s confidence in their product. Reputable PSU brands often offer warranties ranging from 5 to 10 years, and sometimes even longer. A longer warranty period provides peace of mind and indicates that the manufacturer stands behind the quality and durability of their unit. Beyond the warranty, consider the manufacturer’s reputation for customer support. In the rare event of an issue, responsive and helpful customer service can make a significant difference. Always check reviews and forums for feedback on warranty claims and support experiences before making a final decision for your PSU upgrade guide.
Reading Reviews and Benchmarks
Before making a purchase, always consult independent reviews from trusted hardware websites (e.g., Tom’s Hardware, TechPowerUp, Gamers Nexus). These reviews often include in-depth analyses of performance, efficiency, ripple suppression, build quality, and teardowns that reveal internal components. Pay close attention to objective test results rather than just marketing claims. Benchmarks comparing different PSUs under various loads can provide valuable insights into real-world performance and stability, guiding your PSU upgrade guide decision.
In conclusion, while the allure of a cheap PSU might be tempting, it’s a false economy. A high-quality power supply from a reputable brand is a long-term investment that ensures the stability, safety, and longevity of your entire gaming PC. By prioritizing quality, reliability, and robust warranty support, you can confidently select a PSU that will power your adventures for years to come.
Step-by-Step Installation Guide for Your New PSU
Once you’ve chosen the perfect PSU for your gaming rig, the next step in this PSU upgrade guide is the installation. While it might seem daunting, replacing a power supply is a relatively straightforward process that even novice PC builders can accomplish with patience and careful attention to detail. Always prioritize safety, and take your time to ensure everything is connected correctly.
Step 1: Safety First – Disconnect and Discharge
Before you even open your PC case, safety is paramount. Unplug your computer from the wall outlet completely. Press and hold the power button on your PC for 10-15 seconds to discharge any residual electricity stored in the capacitors. This prevents accidental shocks and protects your components. It’s also advisable to work on a non-static surface and consider wearing an anti-static wrist strap to prevent electrostatic discharge (ESD) damage to your sensitive components.
Step 2: Open Your PC Case and Disconnect Old PSU Cables
Carefully open your PC case by removing the side panel(s). Locate your existing PSU. Before disconnecting anything, take photos or make a diagram of how the cables are currently routed and connected to your motherboard, graphics card, drives, and other peripherals. This will serve as a helpful reference when connecting your new PSU. Systematically disconnect all power cables from your components:
- 24-pin ATX motherboard connector
- 4+4-pin (or 8-pin) CPU power connector(s)
- 6+2-pin PCIe power connector(s) from your graphics card(s)
- SATA power connectors from SSDs, HDDs, and any optical drives
- Molex connectors from fans or other peripherals
Once all cables are disconnected from the components, unclip or unscrew any cable ties or management solutions holding the PSU cables in place. If your old PSU is modular or semi-modular, you might be able to detach the cables from the PSU itself. If it’s non-modular, you’ll simply remove the entire bundle with the PSU.
Step 3: Remove the Old PSU
Most PSUs are secured to the PC case with four screws at the back. Locate and remove these screws. Depending on your case design, the PSU might slide out from the back or the inside. Gently pull out the old PSU from its bay. Be mindful of any remaining cables that might be snagged, and avoid forcing it. Once removed, set it aside.
Step 4: Install the New PSU
Carefully slide your new PSU into the empty PSU bay. Ensure the fan is oriented correctly – typically, the fan should face downwards if your case has a bottom vent, or upwards if it’s a top-mounted PSU without a top vent. Secure the new PSU to the case using the four screws provided with your new PSU. Do not overtighten them.
Step 5: Connect New PSU Cables
This is where modularity shines. For a fully or semi-modular PSU, first connect the necessary cables to the PSU itself. Refer to the photos or diagram you took earlier to ensure you’re connecting the correct cables to the right components. Start with the main power connectors:
- 24-pin ATX Motherboard Connector: Connect this to the largest slot on your motherboard. Ensure it clicks into place.
- 4+4-pin (or 8-pin) CPU Power Connector(s): Connect these to the top-left section of your motherboard, near the CPU socket.
- 6+2-pin PCIe Power Connector(s): Connect these to your graphics card(s). Ensure all required connectors are plugged in.
- SATA Power Connectors: Connect these to your SSDs, HDDs, and other SATA devices.
- Molex Connectors: If needed, connect these to any remaining peripherals.
When connecting cables, ensure they are fully seated and clicked into place. Do not force connectors if they don’t seem to fit; double-check that you have the correct cable for the correct port. Pay attention to cable routing. Try to route cables behind the motherboard tray or through designated grommets to keep them tidy and out of the way of airflow. This step is crucial for a clean build and efficient cooling, a vital aspect of any practical PSU upgrade guide.
Step 6: Cable Management and Final Checks
Once all components are connected, take some time to manage your cables. Use zip ties or Velcro straps (often included with modular PSUs) to bundle and secure cables. This not only improves aesthetics but also enhances airflow within your case. After cable management, perform a final visual inspection:
- Are all necessary power cables securely connected to their respective components?
- Are there any loose cables that could interfere with fans or other moving parts?
- Is the PSU fan oriented correctly?
- Are all screws tightened (but not overtightened)?
Step 7: Close Case and Power On
Replace your PC case side panel(s). Plug your computer back into the wall outlet. Cross your fingers, and press the power button. If everything was connected correctly, your PC should boot up normally. Monitor temperatures and system stability for the first few hours or days, especially during gaming sessions, to ensure your new PSU is performing as expected. If you encounter any issues, such as the PC not powering on, check all connections again carefully, referring to your photos or diagrams. This completes the practical steps of this PSU upgrade guide.
Optimizing Your Gaming Experience Post-PSU Upgrade
Congratulations! You’ve successfully completed your PSU upgrade guide, and your gaming PC is now powered by a robust and efficient new unit. However, the journey doesn’t end with installation. To truly maximize the benefits of your new power supply and ensure a stellar gaming experience, there are a few optimization steps and best practices to consider. These actions will help you maintain system stability, efficiency, and overall performance.
Monitor System Stability and Performance
After installing a new PSU, it’s good practice to monitor your system for stability and performance. While a quality PSU should immediately provide a more stable power delivery, observing your system under various loads can give you peace of mind. Use monitoring software like HWMonitor, HWiNFO64, or CPU-Z/GPU-Z to keep an eye on component temperatures, voltages (if your motherboard sensors are accurate), and overall system behavior during gaming sessions. Pay attention to any unusual crashes, freezes, or performance dips that weren’t present before the upgrade. While rare with a new, quality PSU, these could indicate an issue with the installation or, in very rare cases, a faulty unit.
Re-evaluate Overclocking Potential
If you enjoy overclocking your CPU or GPU, a stable and powerful PSU can unlock greater potential. With cleaner power delivery and potentially more headroom, your components might achieve higher stable overclocks than before. If you previously held back on overclocking due to an underpowered or unreliable PSU, now might be the time to revisit it. Always approach overclocking cautiously, increasing frequencies and voltages incrementally, and stress-testing thoroughly after each adjustment. A robust PSU minimizes the risk of instability caused by inadequate power during demanding overclocked scenarios, making it a key component in any serious overclocking endeavor, as highlighted in this PSU upgrade guide.
Cable Management Refinement
Even if you did a decent job with cable management during installation, take some time to refine it. Optimal cable routing not only improves the aesthetics of your build but also enhances airflow. Less clutter means less obstruction for air movement, leading to better cooling for your CPU, GPU, and other components. This can result in lower operating temperatures, which in turn can contribute to better performance (less thermal throttling) and a longer lifespan for your hardware. If you have a fully modular PSU, consider investing in custom braided cables for an even cleaner look and potentially better flexibility for routing.
Ensure Proper Ventilation
While your new PSU might be more efficient and generate less heat internally, ensuring adequate overall case ventilation remains crucial. Check that all your case fans are operating correctly and that their airflow direction is optimized for positive or negative pressure, depending on your preference. A well-ventilated case helps dissipate any heat generated by the PSU and other components, contributing to a cooler and quieter system. Remember, a PSU’s efficiency is also affected by ambient temperatures, so a cooler internal environment helps it operate at its peak efficiency.
Consider Future Upgrades with Your New Headroom
One of the primary benefits of a strategic PSU upgrade guide is the headroom it provides for future upgrades. With your new, more powerful PSU, you now have the flexibility to consider more demanding components. Thinking about a more powerful graphics card in a year or two? Or perhaps adding more storage drives or a liquid cooling system? Your new PSU is likely ready for these additions, saving you the hassle and cost of another power supply replacement down the line. Keep an eye on new hardware releases and their power requirements, knowing that your foundation is now solid.
Regular Maintenance and Cleaning
Just like any other PC component, your PSU benefits from regular maintenance. Over time, dust can accumulate on the fan and internal heatsinks, reducing cooling efficiency and potentially increasing noise. Periodically (e.g., every 6-12 months), use compressed air to gently clean the PSU fan and vents, ensuring unobstructed airflow. Always do this with the PC unplugged and preferably outdoors to avoid inhaling dust. Keeping your PSU clean helps maintain its efficiency and extends its lifespan.
By following these optimization tips, you can fully leverage the benefits of your new PSU, ensuring a stable, efficient, and high-performing gaming PC for years to come. A successful PSU upgrade guide is not just about the installation; it’s about the continued care and optimization that follows, maximizing your investment and enhancing your overall gaming experience.
Conclusion: The Unseen Hero of Your Gaming PC
The journey through this comprehensive PSU upgrade guide has, hopefully, illuminated the often-underestimated importance of the Power Supply Unit in a high-performance gaming PC. Far from being a mere afterthought, the PSU is the silent, unseen hero that underpins the stability, efficiency, and longevity of your entire system. Investing in a quality power supply is not just about meeting wattage requirements; it’s about safeguarding your expensive components, ensuring clean and stable power delivery, and providing a solid foundation for future upgrades and overclocking endeavors.
We’ve explored why a PSU upgrade is critical, moving beyond the superficial to understand its role in mitigating power spikes, enhancing efficiency, and providing essential safety protections. We delved into the intricacies of calculating your power needs, emphasizing the importance of headroom and understanding efficiency ratings like 80 Plus certifications. The guide also covered the practical considerations of form factors, modularity for superior cable management, and the crucial aspect of ensuring all necessary connectors are available, especially with the advent of new standards like ATX 3.0 and 12VHPWR.
Furthermore, we stressed the significance of choosing reputable brands known for their quality components, robust protection circuits, and strong warranties. Relying on independent reviews and benchmarks was highlighted as a key strategy to make an informed decision, ensuring you select a PSU that truly delivers on its promises of reliability and performance. The step-by-step installation guide demystified the process, empowering even those new to PC building to confidently replace their old unit and correctly install a new one, with a strong emphasis on safety and meticulous cable management.
Finally, we discussed the post-installation optimization steps, from monitoring system stability and re-evaluating overclocking potential to refining cable management and ensuring proper ventilation. These ongoing practices ensure that your new PSU continues to operate at its peak, contributing to a cooler, quieter, and more responsive gaming experience. By following the advice in this PSU upgrade guide, you’re not just replacing a component; you’re making a strategic investment in the heart of your gaming PC, setting it up for years of uninterrupted, high-performance gaming.
So, the next time you’re planning a PC build or an upgrade, remember the humble PSU. Give it the attention and investment it deserves, and it will reward you with a stable, efficient, and powerful gaming rig that stands the test of time. Happy gaming!